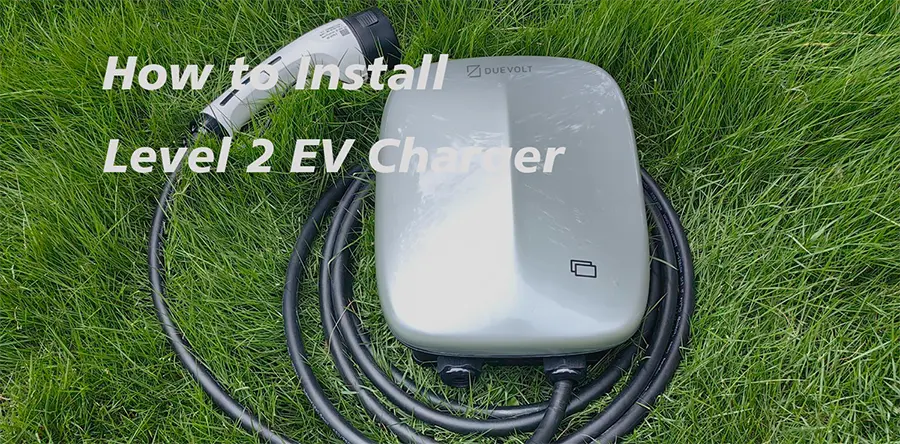
Everything You Need to Know About Installing Level 2 Chargers
EV charger installation at home can make electric vehicle ownership far more convenient and cost-effective. But for many homeowners, the process raises a number of questions: What amperage should I choose? Do I need a panel upgrade? Should I hardwire or use a plug-in unit? And how much will this all cost?
This comprehensive guide walks you through each step, and includes links to deep-dive articles for each key decision point.
1. Choose the Right Amperage
The first step is to determine what amperage level suits your EV and your driving habits.
- 16A or 24A chargers are often enough for plug-in hybrids and light users.
- 32A or 40A provide full overnight charging for most daily driving.
- 48A or 60A+ chargers are better suited for large-battery EVs or high-mileage drivers.
When choosing amperage, consider:
- Your vehicle’s onboard charger (e.g., many EVs cap at 7.2kW or 11.5kW)
- Your daily commute range and how quickly you need to refill battery levels
- Whether you may upgrade your vehicle in the next few years
📘 Learn more: How to Choose the Right Amperage for Your EV Charger
2. Plug-In vs. Hardwired Installation
Level 2 chargers come in two main types:
- Plug-In: Connect to a 240V outlet (NEMA 14-50). Easier to install and portable.
- Hardwired: Directly connected to your panel. Often required for higher amperage setups or outdoor installations.
Most plug-in chargers are limited to 40A or less due to outlet safety regulations. For 48A or higher, a hardwired connection is usually required. Plug-in units may also require GFCI breakers, which can add $100–$150 to your materials cost.
📘 Detailed comparison: Hardwired vs. Plug-In EV Charger Installation
3. What If My Electrical Panel Is Full?
Not enough panel capacity? Don’t panic—you have options:
- Use NEC load calculations or 30-day load monitoring to prove spare capacity.
- Install a Load Management System (LMS) to throttle charging when demand is high.
- Share an existing circuit with a dryer, stove, or water heater.
- Use aluminum wire for long runs to avoid the need for a heavier copper feeder.
If your home has a 100A main panel and no available slots, you might still be able to install a 32A–40A charger using these methods. Modern LMS systems can dynamically reduce EVSE current to stay within your service limit.
📘 Full guide: How to Install an EV Charger Without a Service Panel Upgrade
📘 For aluminum wiring tips: Aluminum Wire: When and How to Use It Safely
4. Installation Steps
Once you’ve determined your charger type and verified panel capacity, it’s time to install:
- Choose installation location: Preferably close to the panel and EV parking spot. For outdoor installs, make sure the charger is weather-rated.
- Plan your wiring route: Choose surface-mounted conduit for easier access, or in-wall for a cleaner look.
- Install a breaker: Match amperage with the charger. Use a GFCI breaker for plug-in units, or a standard 2-pole for hardwired setups.
- Run conduit and wire: Follow NEC 310.15(B)(16). Aluminum wire is allowed for feeders, but not always for final branch circuits.
- Mount and connect charger: Follow manufacturer torque specs and use anti-oxidant compound if aluminum is involved.
- Label breaker: “EV CHARGER” is typically required by inspectors.
- Pass inspection: Submit permit, schedule inspection, and demonstrate functionality.
⚠️ Using copper-only terminals with aluminum conductors requires a proper AL-to-CU transition method (e.g., Polaris connector or subpanel).
5. Installation Costs
EV charger installation costs can vary widely based on site conditions, amperage, panel size, and local labor rates.
| Scenario | Estimated Cost |
|---|---|
| DIY install with existing outlet | $250–$500 |
| Simple 40A hardwired setup | $800–$1,500 |
| Installation with 50 ft run + permit | $1,200–$2,500 |
| Panel upgrade + EV install | $2,500–$4,000+ |
Material costs may include:
- GFCI breaker ($100–$150 for plug-in)
- Copper wire (significantly more expensive than aluminum for long runs)
- Conduit and fittings ($1–$3/ft for EMT)
📘 Breakdown by scenario: How Much Does It Cost to Install an EV Charger?
6. Incentives and Rebates
Many federal, state, and utility-level programs offer tax credits, cash rebates, or free equipment for installing Level 2 EV chargers at home. These incentives can significantly reduce your out-of-pocket cost.
Typical Incentives Include:
- Federal Tax Credit (30C) – Up to 30% of installation costs, max $1,000
- State Rebates – Flat payments or % matching, varies by ZIP code
- Utility Rebates – From local energy providers or city EV programs
📍 This section will be updated soon with an incentive finder by ZIP code.
In the meantime, visit:
- DOE Alternative Fuels Data Center
- Your utility provider’s EV page
7. Example Installation Scenarios
| User Type | Recommended Setup |
|---|---|
| Renter with plug-in hybrid | 16A plug-in charger into 120V outlet |
| Daily commuter with 60-mile roundtrip | 32A–40A hardwired charger |
| Detached garage with 80 ft run | #2 aluminum wire + subpanel + 48A charger |
| Home with 100A service panel | 40A plug-in charger + load management |
| Two EVs and solar panels | Hardwired dual chargers with dynamic load share |
Conclusion
Installing a Level 2 EV charger at home is one of the best upgrades you can make as an EV owner. With careful planning, attention to code compliance, and smart technology options, you can create a charging setup that’s powerful, affordable, and future-ready.
Use the linked guides throughout this article to explore each part of the process in depth—and don’t hesitate to consult a licensed electrician for local code requirements.
